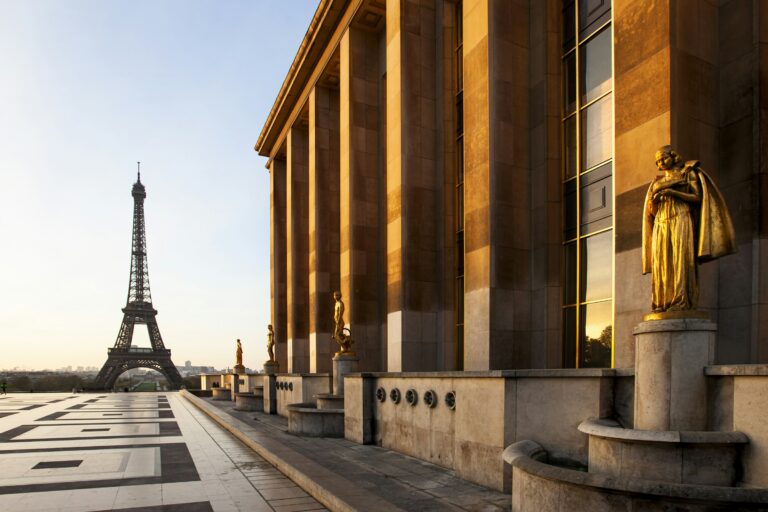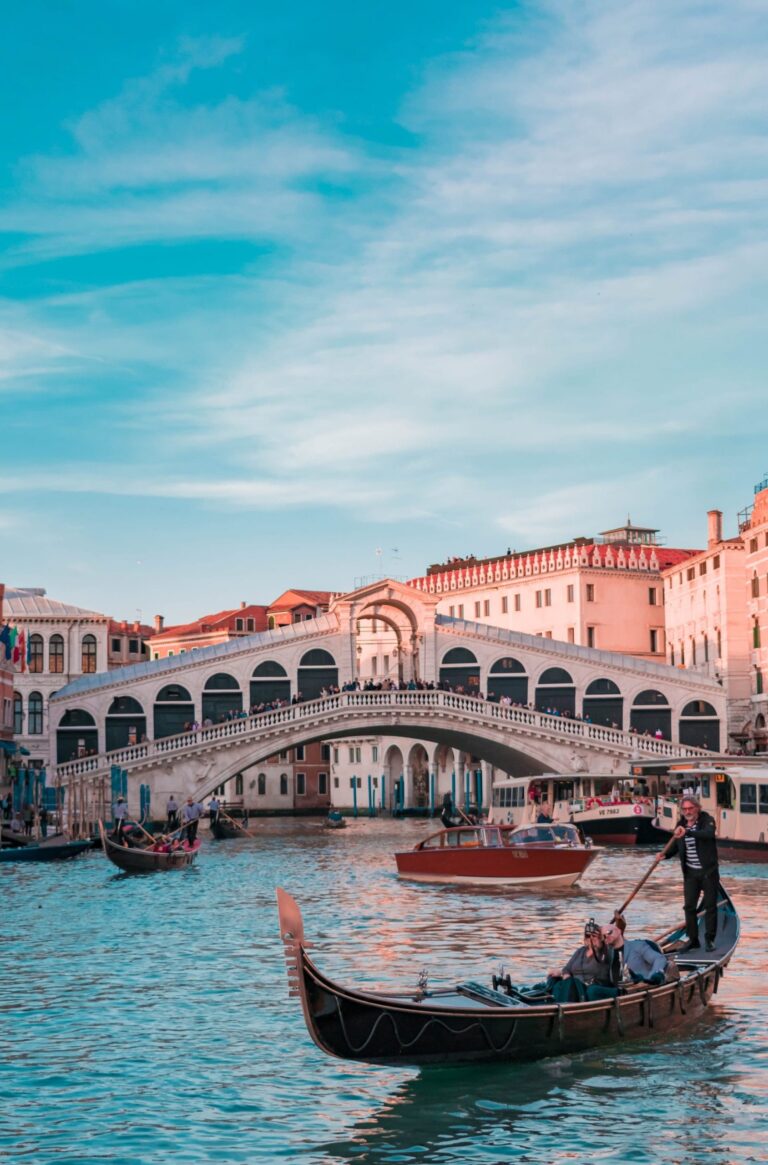







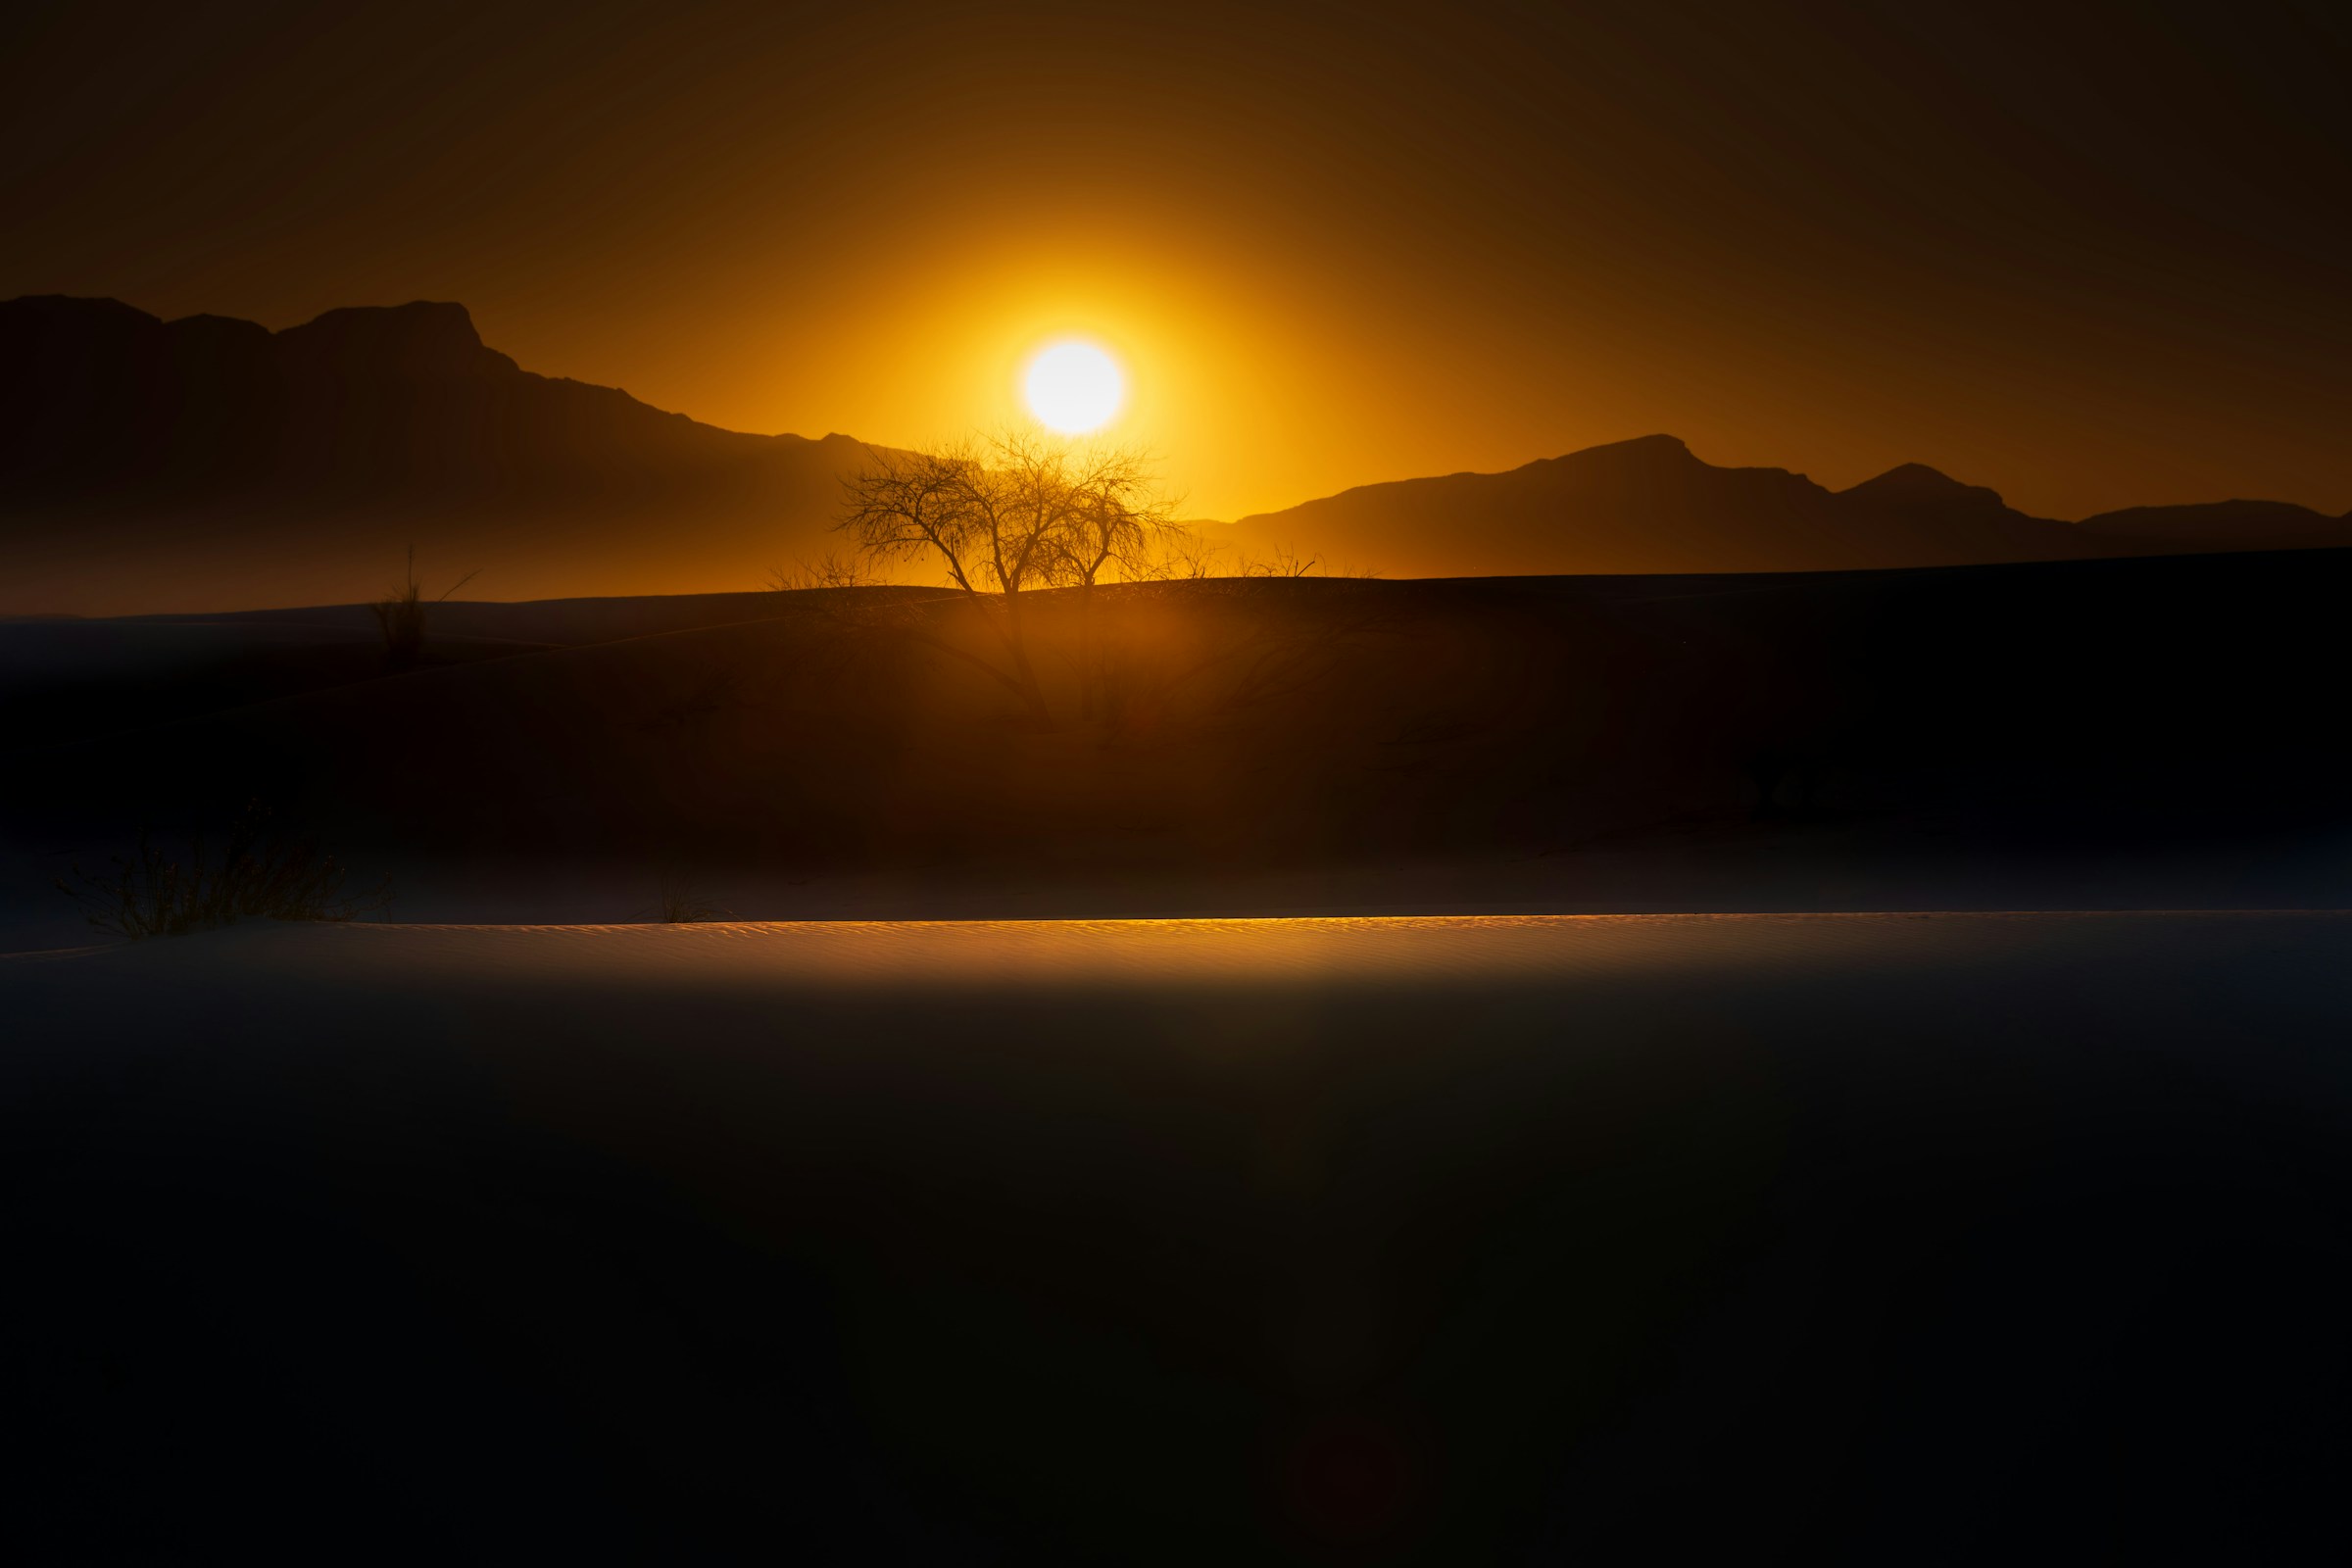
Ask any photographer what single change would most improve someone’s travel photos, and most will give the same answer: shoot during golden hour. The soft, warm, directional light in the hour after sunrise and before sunset does more for a photo than any camera upgrade or editing app.
Why golden hour light actually looks better
When the sun is low on the horizon, its light travels through more atmosphere, scattering the harsh blue wavelengths and leaving warm, golden tones. The low angle also creates longer, softer shadows that add depth and dimension — the opposite of the flat, harsh light of midday sun directly overhead.
Planning around golden hour, not just showing up
Golden hour timing shifts throughout the year and by latitude — sometimes it’s a brief 20 minutes, other times closer to an hour. Weather apps and dedicated golden hour calculator apps will give you the exact window for your specific location and date, which is worth checking the night before a planned shoot.
Shooting into the light versus with it behind you
With the sun behind your subject, you get dramatic silhouettes and rim lighting — striking, but it requires exposing carefully for the sky, not the subject. With the sun behind you, subjects are evenly lit with warm tones and simpler exposure. Both are worth practicing; they produce very different moods.
Blue hour: golden hour’s underrated companion
The 20-30 minutes after sunset (or before sunrise), known as blue hour, offers a deep, saturated blue sky that pairs beautifully with warm artificial lights just turning on in a city — a combination that’s difficult to recreate at any other time of day.
Practical settings for golden hour on any camera
Golden hour’s lower light levels mean slightly slower shutter speeds are often necessary — a small tripod or simply bracing against a solid surface helps avoid blur. On phones, avoid digital zoom in low light specifically, since it degrades quality even more noticeably than in bright conditions.
The mistake most beginners make
Packing up and leaving the moment the sun touches the horizon is the single biggest missed opportunity — the ten minutes after sunset, during blue hour, often produce the most striking photos of the entire session, once the initial golden light has faded.
Scouting locations during the day
Golden hour windows are short, which makes it worth visiting your planned photo location earlier in the day to identify composition, foreground interest, and the best vantage point — so when the light actually arrives, you’re shooting instead of searching.
Golden hour photography rewards patience and planning far more than expensive equipment. Once you build the habit of checking sunrise and sunset times as part of your daily travel planning, it becomes second nature — and your photos will show it.
Related Reading
Equipment considerations for golden hour
A basic tripod, even a small travel one, opens up longer exposures that handheld shooting can’t achieve in lower golden-hour light. A polarizing filter, for those using a dedicated camera, can also deepen sky color and cut glare off water during this window.
Golden hour in different environments
In cities, golden hour light bouncing off glass and stone buildings creates a completely different effect than in open landscapes — look for reflections and long shadows cast down streets. In forests, the low light filtering through tree cover produces dramatic shafts that are almost impossible to recreate at other times of day.
Working around a golden hour that doesn’t cooperate
Cloud cover can mute or completely block golden hour’s effect on a given day — rather than abandoning the shoot, overcast golden hour still offers soft, even, flattering light that’s excellent for portraits, just without the dramatic color.
Building golden hour into your itinerary
Rather than treating golden hour as a bonus if it happens to align with your schedule, deliberately plan at least one sunrise or sunset session at a chosen viewpoint per multi-day stop — it consistently produces the standout images from a trip.
See it in practice
For a worked example applying this to one city in detail, see Best Photo Spots in Paris.

Head of Content at Travelcho, specializing in adventure travel, trekking, and outdoor photography.